DIY Bookcase: Build Your Own Step-by-Step Guide & Save!
Are you tired of generic, mass-produced furniture that lacks personality? Building your own bookcase is not just a practical solution for your storage needs; it's a creative journey that allows you to craft a unique piece that perfectly complements your living space and reflects your individual style.
The appeal of a bespoke bookcase extends beyond mere aesthetics. While ready-made options abound, they often fall short in terms of quality, durability, and the ability to meet specific needs. Opting for a DIY approach empowers you to tailor every aspect of the design, from the dimensions and materials to the finishing touches, ensuring a perfect fit and a lasting investment.
Consider the following advantages. You'll be able to customize the bookcase to the exact dimensions of your space, maximizing storage capacity. The materials can be chosen based on your preference, whether you favor the warmth of solid wood, the cost-effectiveness of plywood, or the sustainable properties of reclaimed materials. You control the design, incorporating features such as adjustable shelves, drawers, or decorative elements that suit your taste.
Moreover, building your own bookcase is a rewarding learning experience. You'll develop valuable woodworking skills, from accurate measuring and cutting to precise assembly and finishing techniques. Each step of the process provides an opportunity to refine your craft and build confidence in your abilities. The satisfaction of creating a functional and beautiful piece of furniture with your own hands is unparalleled.
Let's delve into the practical aspects of creating your own custom bookcase, transforming raw materials into a functional masterpiece. Before you begin, gather the necessary tools and materials. A well-equipped workshop will streamline the process, but a basic set of tools is sufficient to get started. Essential tools include a saw (circular saw, jigsaw, or hand saw), a measuring tape, a level, a drill, a screwdriver, clamps, and sandpaper.
The choice of materials significantly impacts the final result. Solid wood offers inherent beauty and durability, but it can be more expensive and require more specialized techniques. Plywood is a versatile and cost-effective alternative, available in a variety of thicknesses and finishes. Particleboard or MDF (medium-density fiberboard) can also be used, but they may not be as strong or water-resistant as other options.
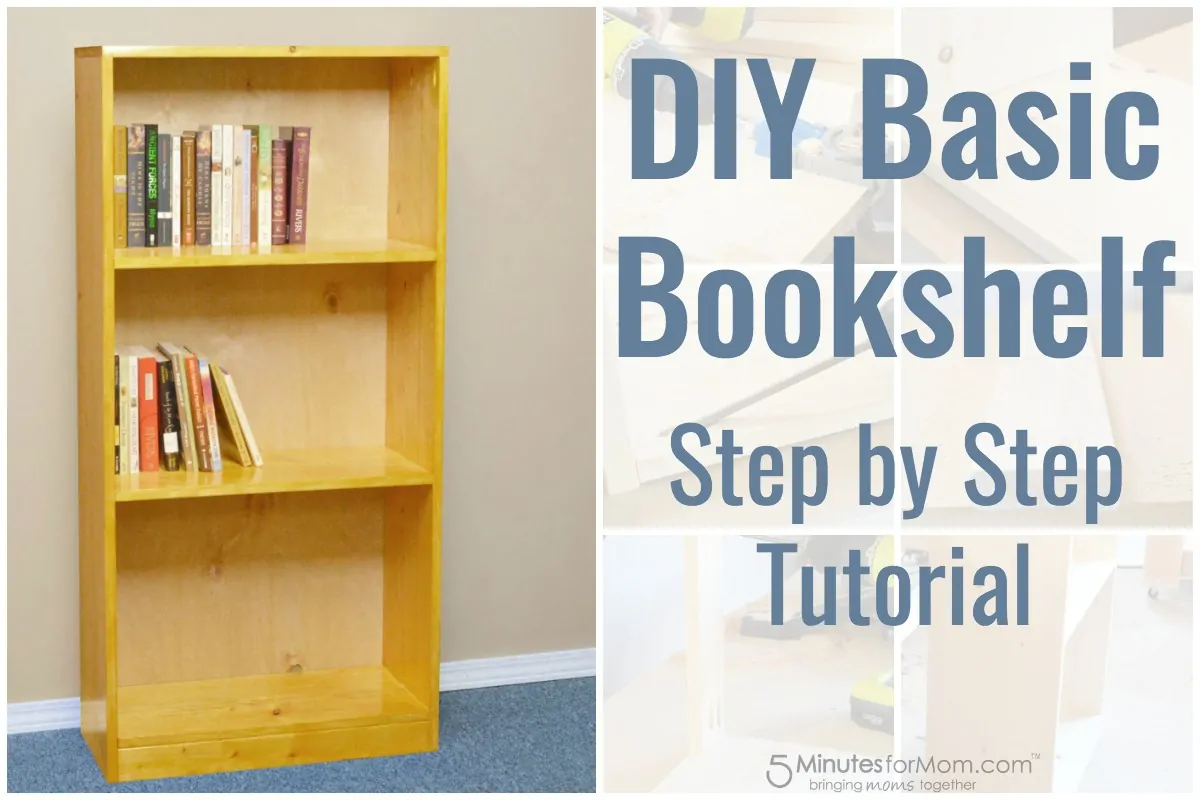
This guide outlines how to build a DIY bookshelf that's six feet tall with five shelves. Youll also learn tips on applying trim, stain or paint for a finished look.
With the right tools and materials, anyone can create a custom bookcase that fits their unique style and needs. Building your own bookcase is not only a practical solution but also a fulfilling creative experience. It allows you to customize every aspect and create a piece that truly reflects your style and needs. Remember, the key to success is taking it step by step and not rushing the process.
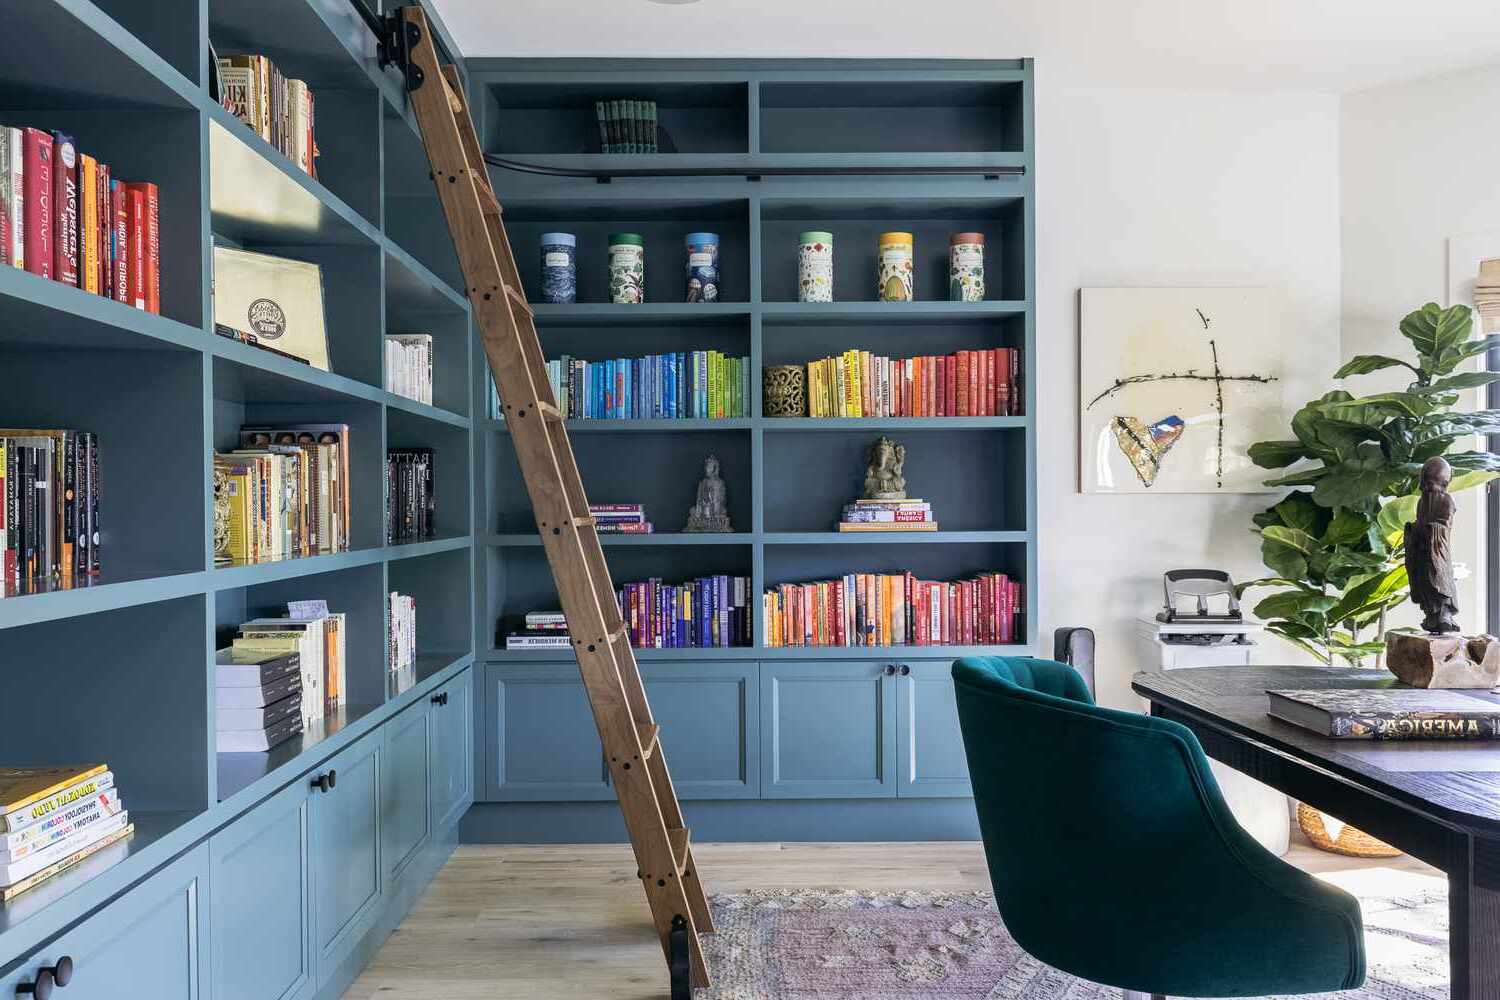
This project is more than just a storage solution; Its a unique piece of furniture that adds character to your room. You can't have too many bookshelves and, if you're a diyer, crafting your own is a good way to hone your workworking skills.
Building your own bookcase can be a fun and rewarding DIY project that can add a personal touch to your home decor. This project also helps you practice essential woodworking skills. You\u2019ll get comfortable using saws, assembling joints, and applying finishes\u2014all in one build. Complete the look by building your own headboard or even bed.
Before you begin cutting wood, its essential to have a clear plan for your bookcase. You need to measure the space and decide on the width, height, and depth. Use these dimensions to produce a detailed drawing and cutting guide for your bookcase. Get the perfect space to store your collection of books by building an elegant custom bookcase. It's easier than you think! I recently built one myself, and it was incredibly rewarding. This guide will walk you through it, step by step. Before you even touch a saw, plan!
The following table will provide the necessary steps for building your bookcase:
| Step | Action | Details |
|---|---|---|
| 1 | Planning and Measuring | Determine the dimensions of your bookcase (width, height, and depth) based on your space and needs. |
| 2 | Material Selection | Choose your wood type (plywood, solid wood, MDF, etc.) and calculate the required quantity. |
| 3 | Cutting the Wood | Cut the wood pieces according to your detailed drawing and cutting guide (sides, top, bottom, shelves, and any additional features). |
| 4 | Assembly | Assemble the bookcase frame using appropriate joinery methods (screws, wood glue, dowels, etc.). |
| 5 | Shelf Installation | Install the shelves, ensuring they are level and securely attached. |
| 6 | Finishing | Apply your chosen finish (stain, paint, varnish) to protect and enhance the appearance of your bookcase. |
Once you have a basic plan, it is time to start, the planning and measuring is very essential to have a clear plan for your bookcase.
Here is the guide to build the bookcase, you will need Drywall screws [ 3 ].since the bookcase has no back, you need to install a wood strip, or, this beautiful tall bookcase with 5 shelves, was built from 1 sheet of 3\/4\u2033 plywood, 1 sheet of 1\/4\u2033 plywood, and some trim. Building your own bookcase is not only a practical solution but also a fulfilling creative experience. It allows you to customize every aspect and create a piece that truly reflects your style and needs.
A bookcase is one of the most useful pieces of furniture you can build. It provides extra storage, adds visual interest, and gives you a chance to personalize your space.
And while you can buy a bookshelf for quite cheap, they will feel very cheap too. Instead, you should build your own diy bookcase. You will save a lot of money or get way better quality for the same money. By following these instructions, you will not only create a functional piece of furniture but also experience the sense of accomplishment and pride that comes with. Understanding the costs involved in building a bookshelf can help you budget effectively and decide whether a diy approach is right for you.
The initial step in any woodworking project, and especially a DIY bookcase, involves careful planning and accurate measurements. Before even picking up a saw, take the time to assess your space and determine the ideal dimensions for your bookcase. Consider the available wall space, the desired storage capacity, and the aesthetic you want to achieve.
Measure the height, width, and depth of the area where the bookcase will be placed. Factor in any obstacles, such as baseboards, electrical outlets, or architectural features. Decide on the number of shelves and the spacing between them, considering the types of items you plan to store, such as books, decorative objects, or media components. A detailed drawing, even a simple sketch, will help you visualize the final product and serve as a reference throughout the build. This also includes a cutting guide that specifies the dimensions of each component, optimizing material usage and ensuring accuracy.
Once you have your measurements and plan in place, select the materials for your bookcase. Plywood is a popular choice due to its affordability, versatility, and ease of use. It is available in various thicknesses, and can be cut to create a strong and stable structure. For a more traditional look, solid wood offers natural beauty and durability. Consider the grain pattern, the finish, and the overall design aesthetic when choosing your wood. Hardwoods are a premium option offering durability and a refined look, although they are more costly. Consider the cost involved in building a bookshelf can help you budget effectively and decide whether a DIY approach is right for you.
Assembling your bookcase involves several steps, each critical to the structural integrity and aesthetic appeal of the final product. The sides of the bookcase form the vertical supports, and the top and bottom pieces provide horizontal stability. These components are typically joined using screws, wood glue, and potentially dowels or biscuits for added strength. A square assembly ensures that all the components are at right angles to each other, creating a straight and structurally sound frame. Clamps will be your best friend, holding the pieces in place until the glue sets. The shelves, positioned between the sides, provide the internal support for books and other items. They can be fixed (permanently attached) or adjustable, providing flexibility to accommodate items of varying sizes. Adjustable shelves require shelf supports or pins, allowing for easy repositioning. Secure each shelf, ensuring they are level, and that they can bear the intended weight.
With the frame and shelves in place, it's time to apply the finishing touches. The goal is to protect the wood and enhance its appearance. Stain adds color and brings out the natural grain of the wood. Paint provides a solid color and can be used to match your existing dcor. Varnish or lacquer provides a protective topcoat, creating a durable and long-lasting finish.
If you want to achieve professional-looking results, apply multiple coats of the finish, sanding lightly between each coat to remove imperfections. To finish, add wood trim, and any additional finishing touches such as trim to hide edges and add a polished look. You'll get comfortable using saws, assembling joints, and applying finishes\u2014all in one build. The satisfaction of completing your own masterpiece will bring endless joy and a sense of accomplishment.
How to build your own bookcase a stepbystep diy guide. You can't have too many bookshelves and, if you're a diyer, crafting your own is a good way to hone your workworking skills.

